iCloudBridge User Guide
Installing iCloudBridge
You'll start by downloading the latest release of iCloudBridge from the GitHub Releases page. You can also get the latest version from the website - icloudbridge.app.
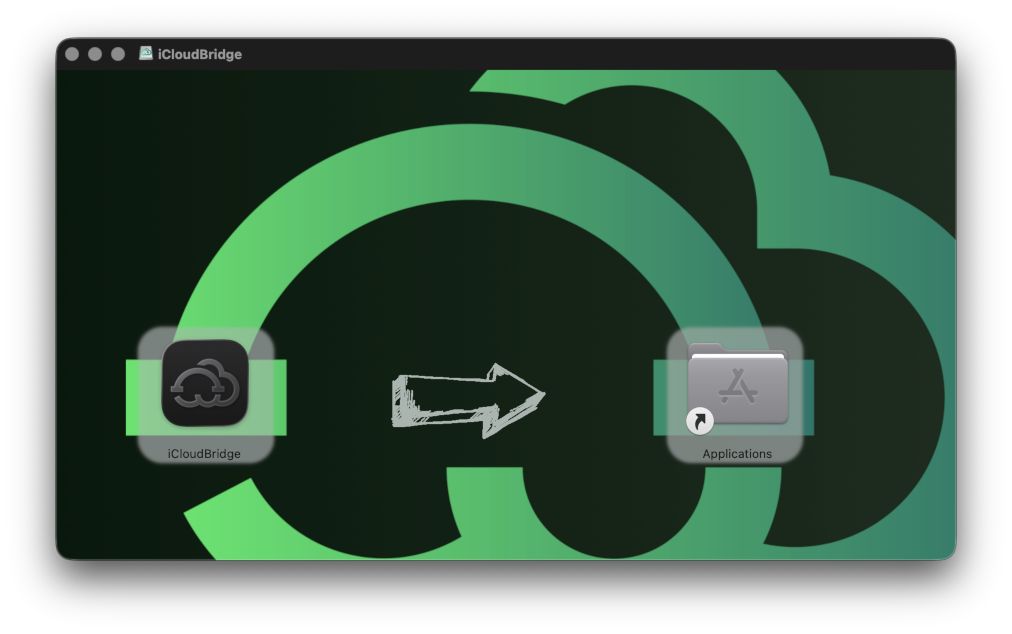
Once you've downloaded the app, simply double-click the .dmg file and drag the iCloudBridge app to your Applications folder.
Launching the WebUI
When you start iCloudBridge for the first time, a setup window will appear. This ensures that your system has all the requirements necessary to run the sync engine, and also ensures that iCloudBridge has the necessary permissions.
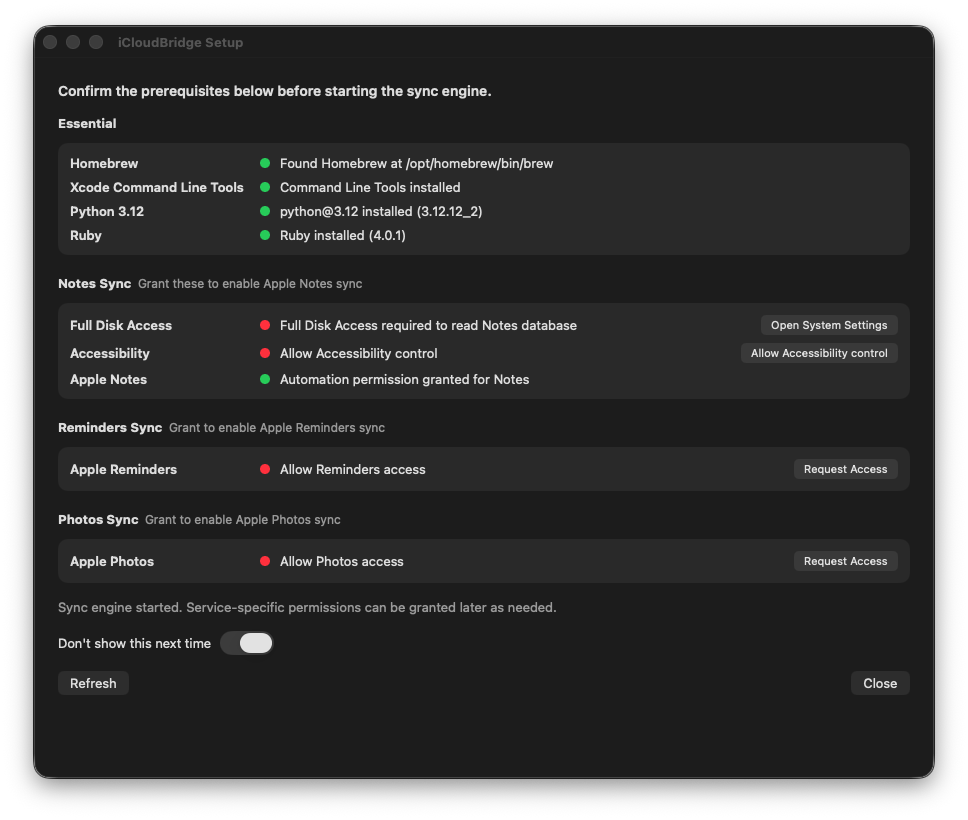
If any of the requirements fail to install, a "Logs" button will appear. You can use these when asking for help in our GitHub Issues page.
You will also see buttons allowing you to grant iCloudBridge the necessary permissions. You can choose which permissions to grant depending on the features you intend to use.
TIP
Even if you don't intend to use certain features yet, it is safe to give iCloudBridge all permissions. This is an open-source application, with no telemetry collected and with no information sent to any external servers.
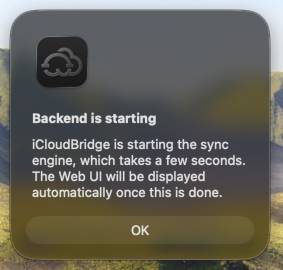
Once you have all requirements, the sync engine will start!
You'll see a menubar icon appear at the top of your screen. Until the sync engine starts, you'll see a clock icon on the menubar icon:

Also, if you try to launch the Web UI at this point, you will be informed that the sync engine is still starting. Once it has started, the Web UI will open automatically.
Once iCloudBridge has started, click on the menubar icon and select "Open Web UI" from the dropdown menu. This will open the web interface in your default browser.
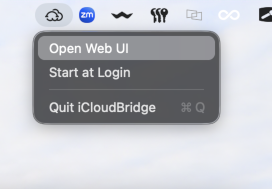
From the same menu, you can also choose to Start iCloudBridge at Login. You probably want to do this, especially if you plan on using the Scheduler for automated synchronisation.