iCloudBridge User Guide
The Schedules Page
The Schedules page lets you schedule automatic synchronisation for Notes, Reminders and Photos. You can create multiple schedules, and combine multiple services per schedule.
CAUTION
It is strongly recommended to not create schedules that run at less than a 10 minute interval. This ensures that the previous synchronisation has completed before starting a new one.
Creating A Schedule
Click "New Schedule" to get started. From here, you'll give the schedule a name, choose what to sync and choose a schedule type.
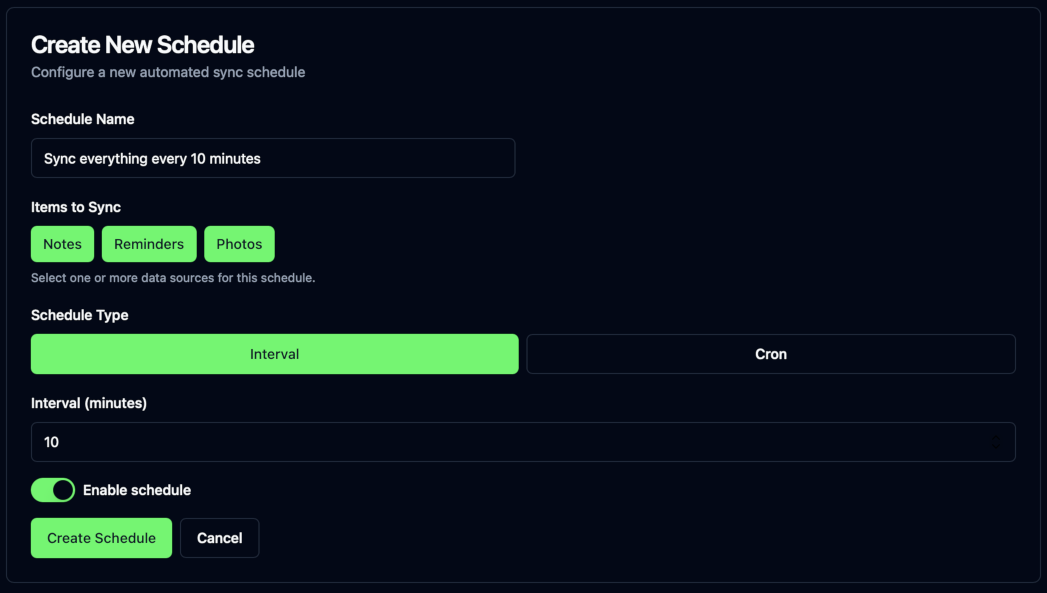
If you want more fine-grained control over when the schedule runs, switch to the "Cron" tab, where you can add your own Cron expression:

Your schedule will now be saved and show the next scheduled time:

Initial Permissions
It's a good idea to test your schedules from the schedules page once they have been created - this is especially true if these are your first schedules, as macOS may prompt you for permissions related to running shortcuts.
TIP
Make a few changes to the items which are part of the schedule (such as deleting a note, marking a reminder as complete, or adding a photo). Then, trigger the schedule manually or wait for the auto-trigger whilst monitoring the machine iCloudBridge is running on. This allows you to approve permissions the first time the schedule runs.
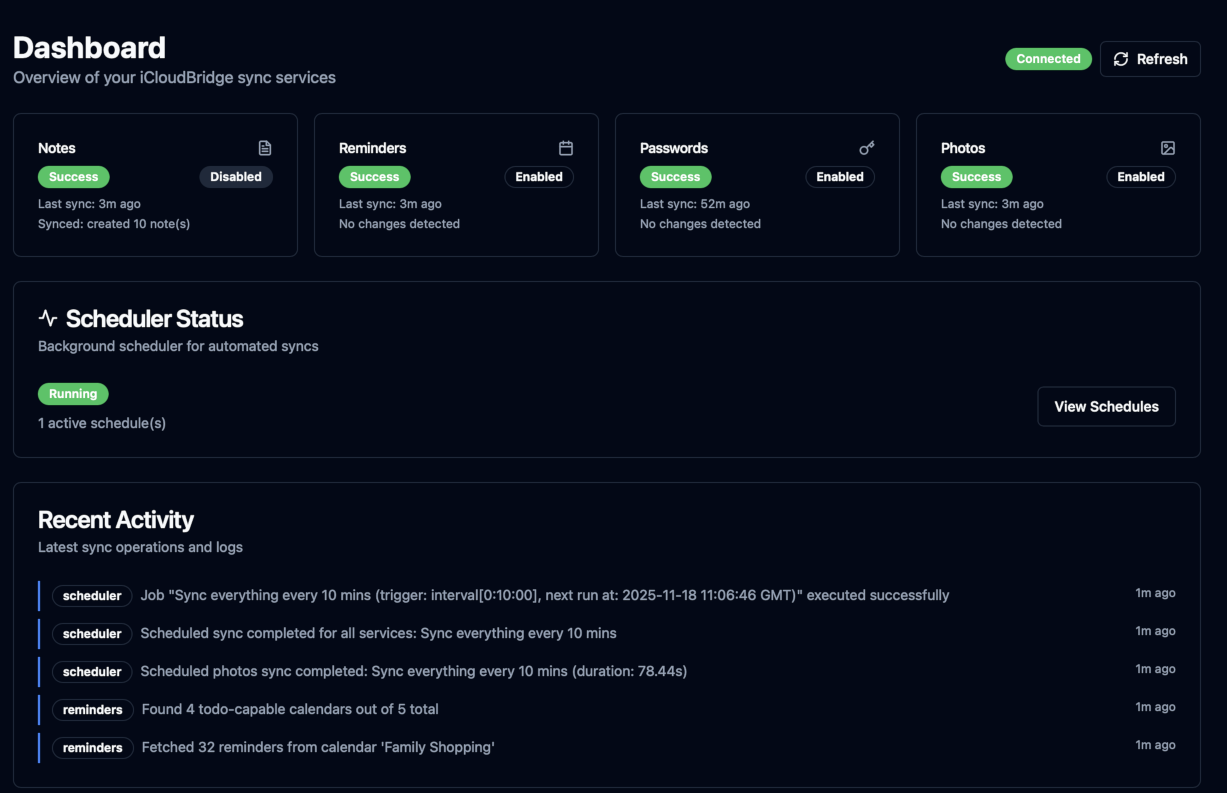
Monitoring Status
Returning to the dashboard at a later date will show you the status of the last schedule which ran.